Wednesday, May 30, 2012

Chicken Butchering Day (Warning- Graphic)

Warning this post contains pictures of our butchering day.  There are detailed photos of the process from start to finish.  If you do not want to see blood, guts, and dead chickens please stop reading now.

We spent Sunday afternoon at a friend's house for chicken butchering.  She has quite the set-up and a group came together to butcher.  A morning group butchered 50 birds and the afternoon group butchered 35.  We brought the 10 we have been raising up for the afternoon group.  Joe has butchered chickens, turkeys, and rabbits before but we've never done it as a group.  Was so much more fun and we really learned a lot by seeing how Lisa sets everything up!

Her set-up outside their garage.  It did not rain at all, lucky us.

Some of our birds after transport.  We drive a mini-van so the 
smell on the drive was not pleasant.  

They would hold the birds upside down until they were calm and 
then put them into the killing cone.

 Quickly done.  Blood drains into the 
containers of pine shavings below.

Water at just the right temp.  170 degrees was just right.

Dipping the birds for 20 seconds.

 Into the wizzbang.  This machine takes almost all the feathers out.  We have hand plucked both chickens and turkeys and this was amazing.  So fast and easy.  If you are local to me her husband builds and sells them.  They run about $1,000.  Her website is here and they also make awesome chick brooders!


Nice and clean!

Our view from the butchering stations.  

Picking out the last of the pin feathers.

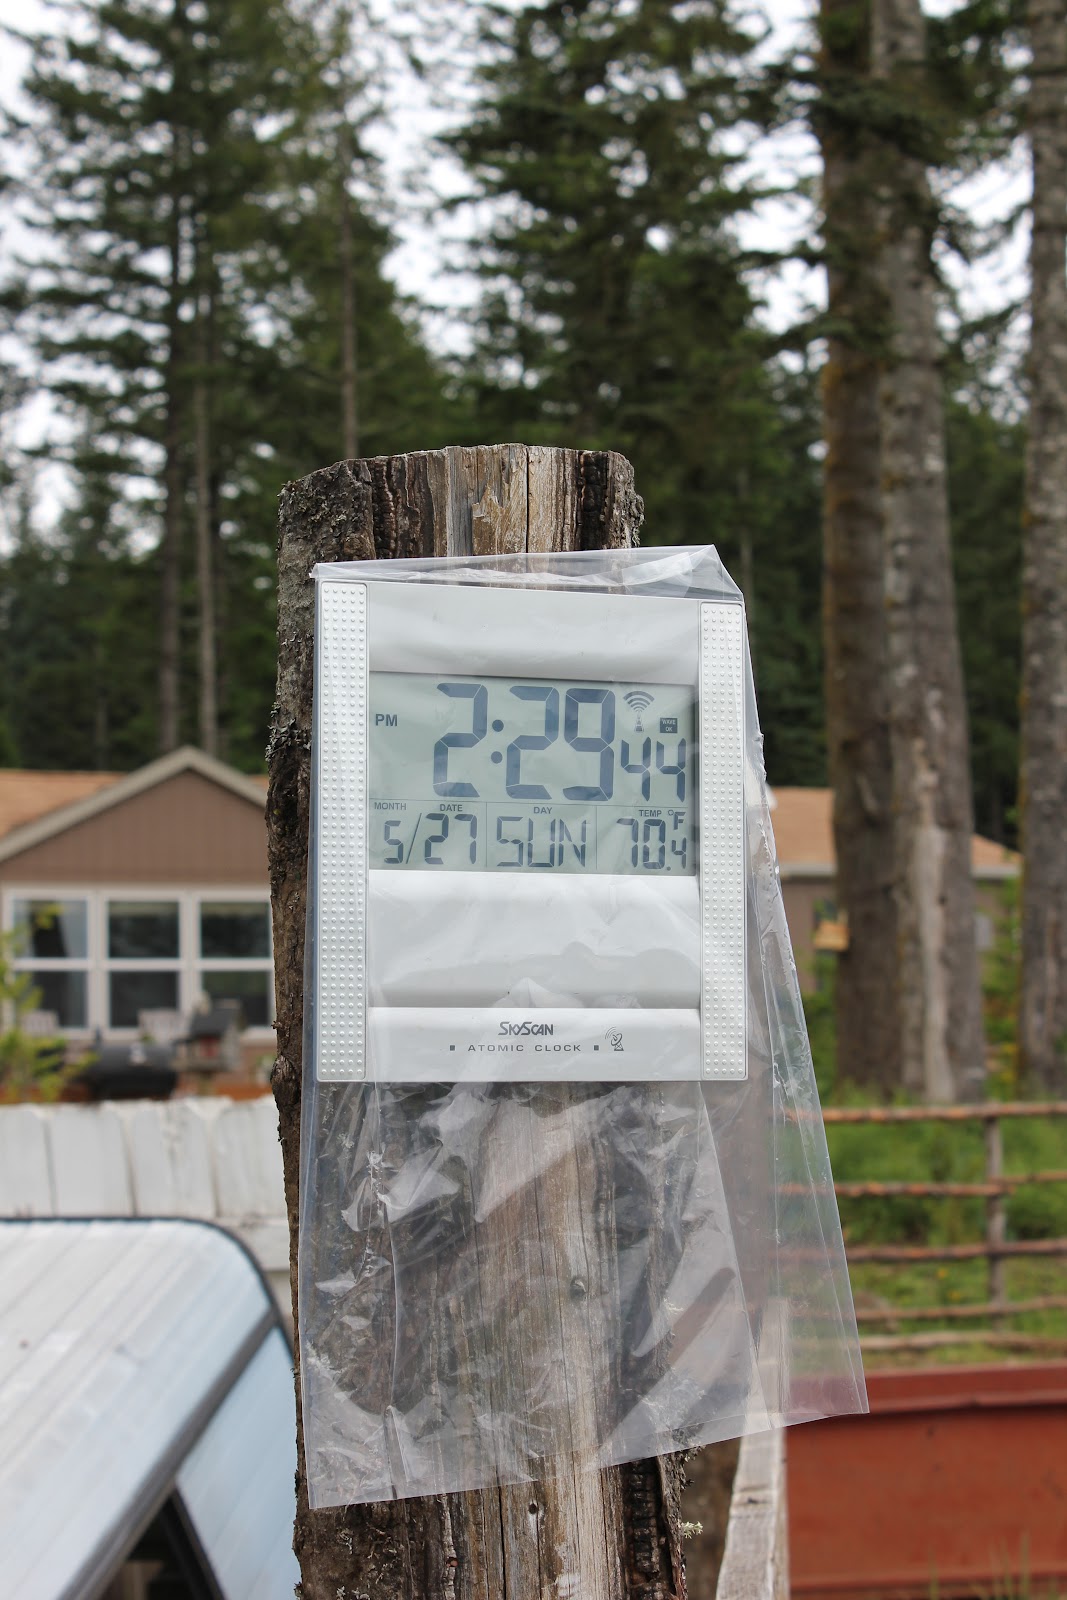
We started about 2pm.  The clock was set-up so you could easily count how long the birds were submerged in the hot water.  A table for cleaning supplies.  All tables had bleach buckets and everything was cleaned regularly through out the process.

Taking out the insides. 

This is what NOT to do.  The bile needs to be washed away 
and care taken not to get it on any of the meat.  This only happened once all day!

Inside the tents.  Pin feather station, butcher station, clean station.

Another woman was there to help and she was awesome at this.  
So fast and she really knew what she was doing.  I was just 
fascinated with these gut photos.  Sorry!  I took several more that 
I didn't post.  lol


 Saving the chicken feet for yet another person.

Clean water buckets for belly scrubbing.


Yep all clean.

 Almost done!

Finished birds go into clean buckets full of cold water.

Out of the bucket and onto trays to drip.  Look just like the store!


Double bagged and ready to weigh.

 Weigh table.  Biggest bird of the day 6.65!

There was more than just butchering, photos from the rest of the day.

The kids played in the woods most of the day.  After we were all done the girls got to collect 
eggs and see all of Lisa's chickens.  


The fields around her chicken coops were full of these full of these flowers.  


So how did you spend your Memorial Day Weekend?

Friday, May 25, 2012

Homemade Playdough Recipe

I have been making this recipe for years.  It is by far the best playdough recipe I have found.  It is not grainy, lasts a long time, and the kids love it!


Recipe for Homemade Playdough

1 cup flour
1/4 cup salt
2 tsp cream of tartar
1tsp oil 
1cup warm water
food coloring

Mix dry ingredients in a pan.  Add warm water, food coloring, and oil.  Stir together over medium heat until it forms a ball.  Make sure to stir (this will be hard) until all (or most) of the wet looking spots are gone.  Dump out onto a table and knead until smooth.  Be very careful kneading, as it is HOT!  This recipe makes a large ball of dough, almost a pound.  Store in a sealed plastic bag and it should last for months.


You can make any color you want, even use natural dyes if you would like.  I've added essential oils as scents (be careful some are not great on the skin) and even added glitter to make sparkle dough!  Experiment and have fun!  I used to make this recipe and sell it online when I had my shop, Sewing Alley.

Wednesday, May 23, 2012

Homeschooling on a budget

"I can't afford to homeschool."

I've heard this many times.  And I am here to tell you, you can homeschool on a small budget.  You can homeschool one kid or many kids and still be frugal!

So here are 10 ways to be a frugal homeschooler!

1.  Public Library.  Use it!  You can get all the free reading material you want on any subject you want.  My daughter uses our local library for their free e-book library.  There are days we come out of the library with bags and bags full of books.

2.  Used curriculum sales.  One of the joys of homeschooling is when a curriculum doesn't work for your family you get to choose a new one.  This also means that for those of us looking for a bargain, these are for sale.  Check craigslist, check online sites, check local homeschool groups.  We have several curriculum sales in my local area where you can find excellent bargains.


3. The internet.  I know people who homeschool with out the internet, its not a must.  But it definitely makes it easier!  There are free sites galore for learning games.  There are entire free curriculum out there for all kinds of subjects.  There are websites for homeschool parents sharing ideas.  You get the picture, homeschooling and the internet are a wonderful combination!

4. Hand me Downs.  Yes these happen with homeschooling in addition to clothes.  Recently a friend gifted me 3 different years of a $1500 curriculum.  I was ecstatic.  So ask around, you never know what someone has laying around that they don't use anymore.  They get to declutter and you get to save money!

5.  Make your own craft supplies.  Google or pinterest is your friend here.  There are recipes out there for everything from model magic to playdough to sidewalk chalk.  Some are cheaper to make and others are just fun to make and not at all cheaper!

6.  Buy in bulk, at discount stores, or at back to school sales.  Whether it's the dollar store, Discount School Supply, or Rainbow Resource. These are the Costco of the homeschool world.  Glue in a gallon jug?  Markers for a year.  Yes, thank you!  Back to school sales are not just for public school families. I go every year and get ten cent notebooks (3 cases of them), 25 cent crayons, glue sticks, pencils, etc.  My kids like having their own marker box and I like only spending 20 cents on them.  I try to stock up for the year at this time.  When I shop this way only a small amount is put out at a time and my kids know when they are gone, they are gone.  If they leave all the lids off the markers then they will just have to use crayons for the rest of the year.  Yes I am that mean.


7.  Memberships to local attractions.  As a homeschooler you can go to the zoo or museum any time you want.  Go in the morning, have a picnic, and make it a field trip!  If your family is larger it often only takes one or two visits to completely pay for your membership.

8. Get outside, go to a park, go on a hike.  Nature is free (unless you have to pay to park!) and kids love being outside.  Grab a bird watching book from the library and see what you can spot.  Get one of your 10 cent spirals and make yourself a nature notebook.  Draw some pictures of plants and try to identify them.  Grow a garden or get some chickens!  The possibilities for outdoor learning are endless.


9. See items as an investment.  Yes that microscope is kind of expensive.  How many kids will use it, how many years of homeschooling will it be used, can you sell it when you are done?  That microscope might not sound so expensive when you realize that 4 kids will get many years of use out of it!

10.  Photocopies.  If you can, buy items that can be copied.  Some cannot so make sure you check the copyrights.  Some say may be reproduced for classroom/homeschool use.  So that book of blank maps can now be used for all of your children.  As long as you have a great printer that is economical this is an excellent option for money saving.

What are your favorite ways to be frugal in your homeschool?